
Compress PDF Without Visible Quality Loss · 6 min read
How to Compress a PDF Without Losing Visible Quality
Learn how to reduce PDF file size while keeping text, images, charts, and scanned pages clear enough for reading, sharing, upload, or print.
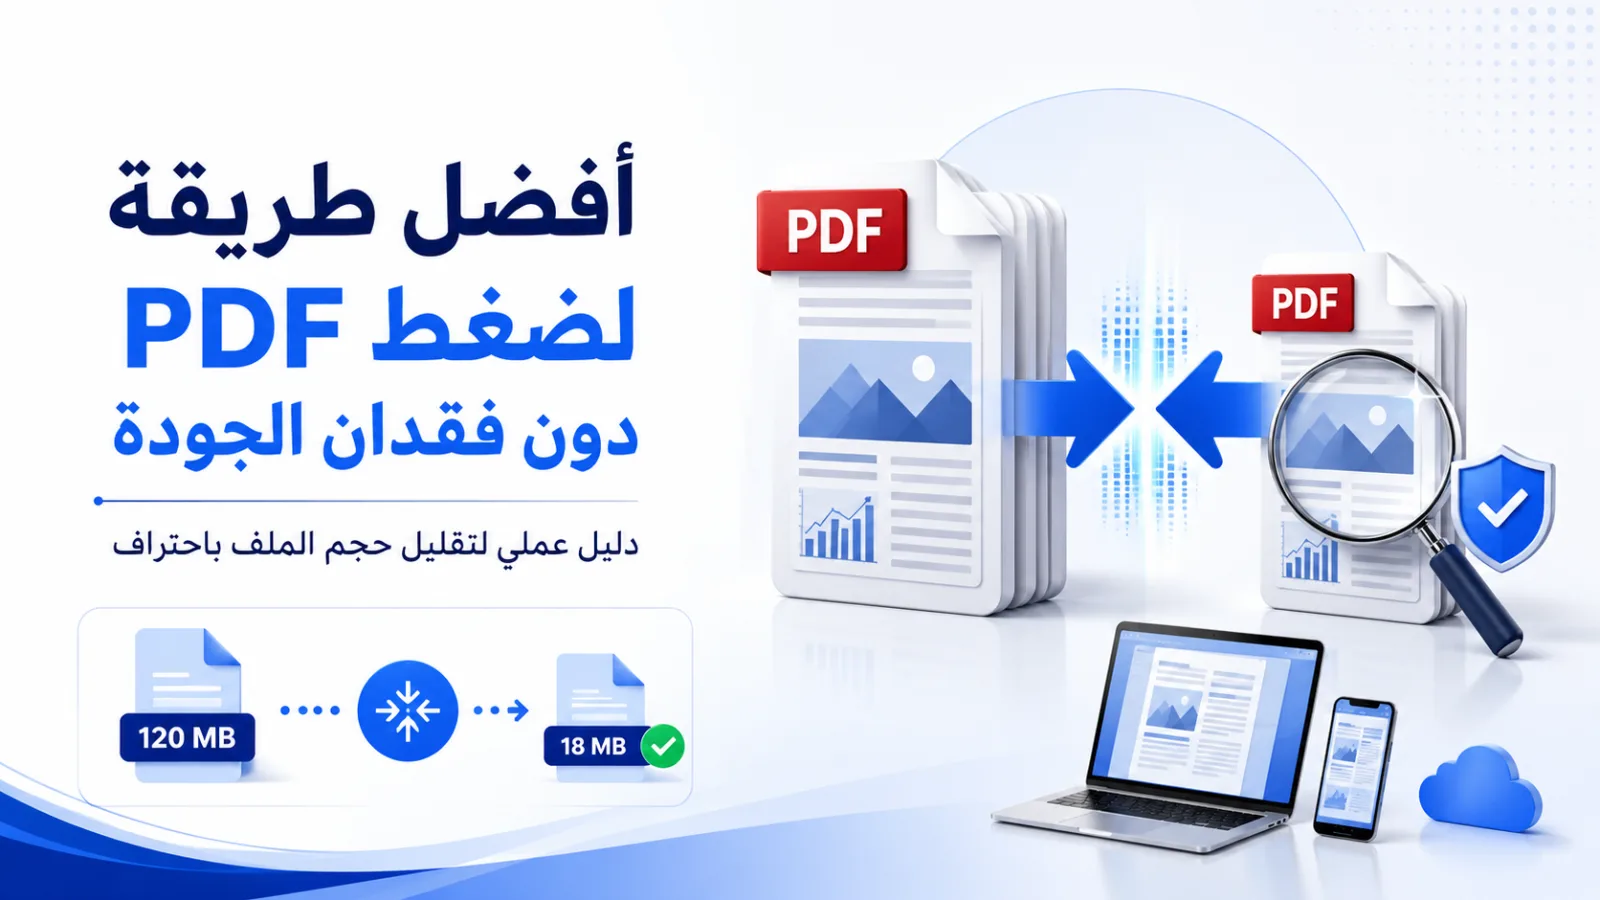
Organizations, students, and business owners often face the same problem when sending documents or uploading them to online platforms: a PDF file can be unexpectedly large even when it contains only a limited number of pages. Compressing a PDF without visible quality loss can reduce the space the document uses while keeping text and images clear during normal reading.
A good result does not come from selecting the strongest compression setting at random. First understand which elements are making the file large, then choose a compression level that matches the type of document and how it will be used.
Why do PDF files become so large? Understanding the underlying causes
A PDF contains more than the text and pages you can see. It may also include high-resolution images, embedded fonts, layers, metadata, and color profiles. As a result, a ten-page document can be larger than a text-based PDF containing hundreds of pages.
1. High-resolution, uncompressed images
Images are often the largest contributor to PDF file size. When a document contains photos captured with a modern camera or pages scanned at a high resolution, it can retain a large amount of image data.
That level of detail can be valuable for professional printing, but it is often far more than is needed for viewing on a phone or computer screen. Image resolution can therefore be reduced to a screen-appropriate level without creating an obvious difference during normal reading.
2. Fonts embedded in the document
The software that created the PDF may embed system fonts so the text looks the same on different devices. File size can increase when the document uses several fonts or large, complex font files.
The file can be smaller when only the characters actually used in the document are embedded instead of the entire font file. This is known as font subsetting.
3. Scanned pages stored as images
A scanner treats the entire page as one image, including the text and white space. That means a scanned page usually uses much more storage than a page containing true digital text.
Optical character recognition (OCR) can add a searchable and selectable text layer, but it does not always remove the original page image. Image optimization therefore remains an important part of reducing the overall file size.
4. Metadata and unnecessary embedded elements
A PDF may contain information about the software that created it, modification dates, thumbnails, hidden layers, change history, and color profiles. These elements are not normally visible to the reader, but they can increase the size of the document.
Large images, embedded fonts, and scanned pages are among the main causes of oversized PDF files.
The difference between reducing file size and preserving visible quality
Not every PDF can be made smaller without changing anything in its internal structure. The practical goal is therefore to preserve visual quality that is appropriate for the intended use while removing data or detail that the reader does not actually need.
Lossless compression
Lossless compression reorganizes data and removes redundancy without discarding original image information. This preserves content at a high level of accuracy, but the reduction in file size is usually limited when large images are the main reason the PDF is heavy.
Smart lossy compression
This approach reduces image resolution or encoding quality by a controlled amount. Instead of keeping image data intended for print, the PDF can use a resolution that is more appropriate for screens. In image-heavy documents, this can produce a significant reduction while leaving text and images clear during normal viewing.
Results vary from one document to another. Files rich in images usually benefit more than files that consist mainly of text and vector graphics.
The right compression method depends on how important visual quality is compared with the target file size.
How to choose the right compression level
There is no single compression level that suits every document. Before you begin, decide whether the file is intended for printing, on-screen reading, or upload to a platform with a strict file-size limit.
Low compression: higher quality
This level is suitable for engineering drawings, medical images, and documents intended for print. The reduction in size is smaller, but fine details are preserved more effectively.
Medium compression: the recommended starting point
Medium compression is the best starting point for most users. It works well for resumes, reports, assignments, and ebooks and usually provides a good balance between content clarity and final file size.
High compression: the smallest practical file
Use this level when reaching a low file size is the main priority, particularly when uploading to a platform with strict limits. Review small text, signatures, and images carefully afterward because strong compression can affect scanned pages more noticeably.
Start with medium compression and move to a stronger setting only when the file is still larger than required.
Practical steps to compress a PDF and reduce its size
You can use the free PDF compression tool in your browser without installing additional software. Keep the original file first, then follow these steps:
- Open the PDF compressor on your phone or computer.
- Select the file from your device or drag it into the upload area.
- Choose a compression level that matches the document.
- Start processing and wait for the tool to optimize the file.
- Download the new copy and open it before sending or uploading it.
Afterward, you can use the other PDF tools to merge documents, split pages, or combine images into a single file.
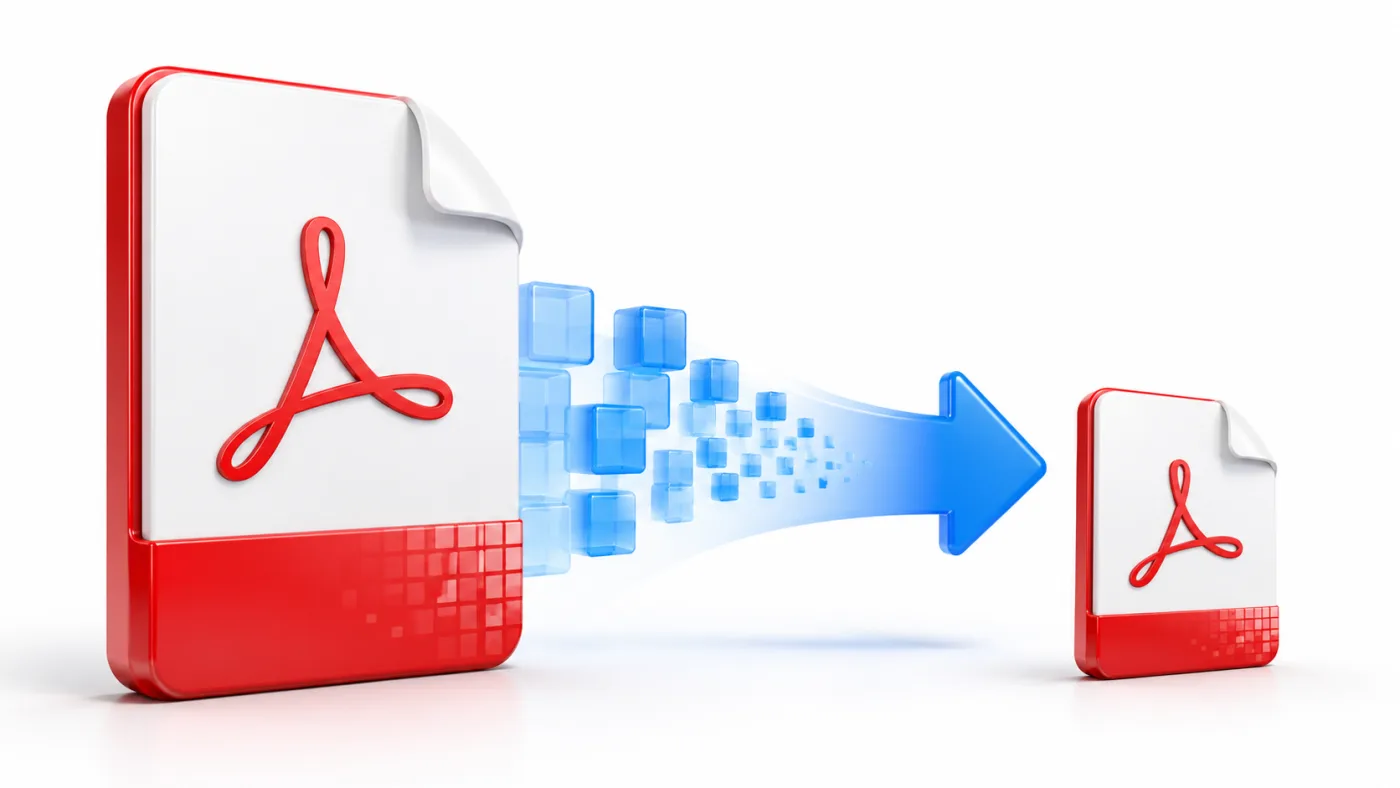
Upload the file, choose a compression level, then download and review the new copy before using it.
Review text and images after compression: a quality checklist
Do not judge the result only by the new file size. Open the compressed copy and inspect important pages, especially when the document is official or contains numbers, tables, or signatures.
1. Review at 100% zoom
View the page at its actual size and make sure the text is easy to read. If the letters are clear and the images look acceptable at this level, the file is usually suitable for digital sharing.
2. Test at a higher zoom level
Zoom in to inspect numbers, signatures, and small details. Some pixelation in images is normal at extreme magnification, but important information should not disappear or turn into unreadable blocks.
3. Check colors and contrast
Review logos, charts, and images with gradients. Make sure there is still enough contrast, especially when the document relies on color to communicate information.
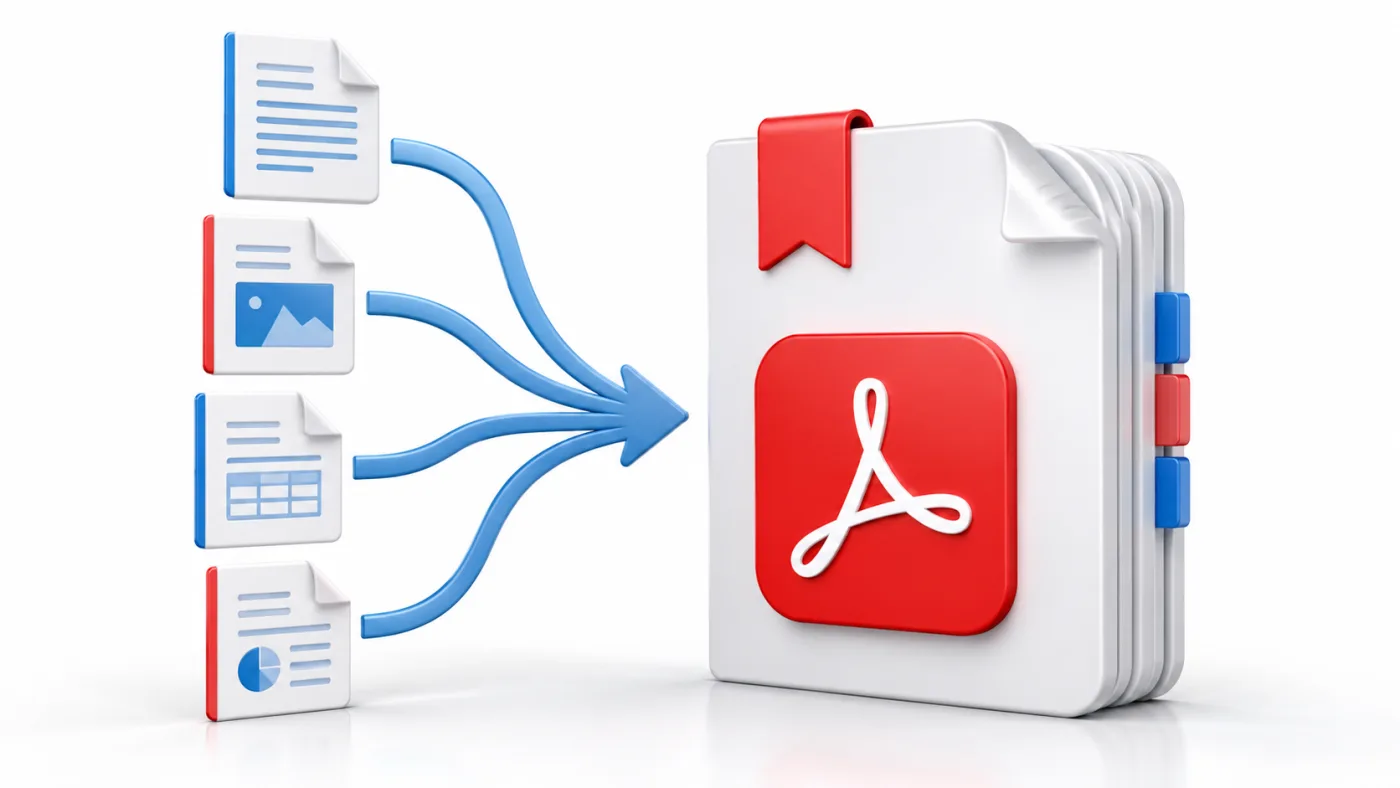
Compare sensitive pages before and after compression instead of checking only the first page.
Real-world uses for PDF compression
- Job applications: Smaller resumes and attachments can upload more quickly.
- Official transactions: Many portals accept documents only within a specific file-size limit.
- Education: Compression makes image-heavy research papers and assignments easier to upload.
- Digital archiving: Smaller files reduce storage requirements across large document collections.
- Email sharing: Smaller attachments are less likely to be rejected or take too long to send.
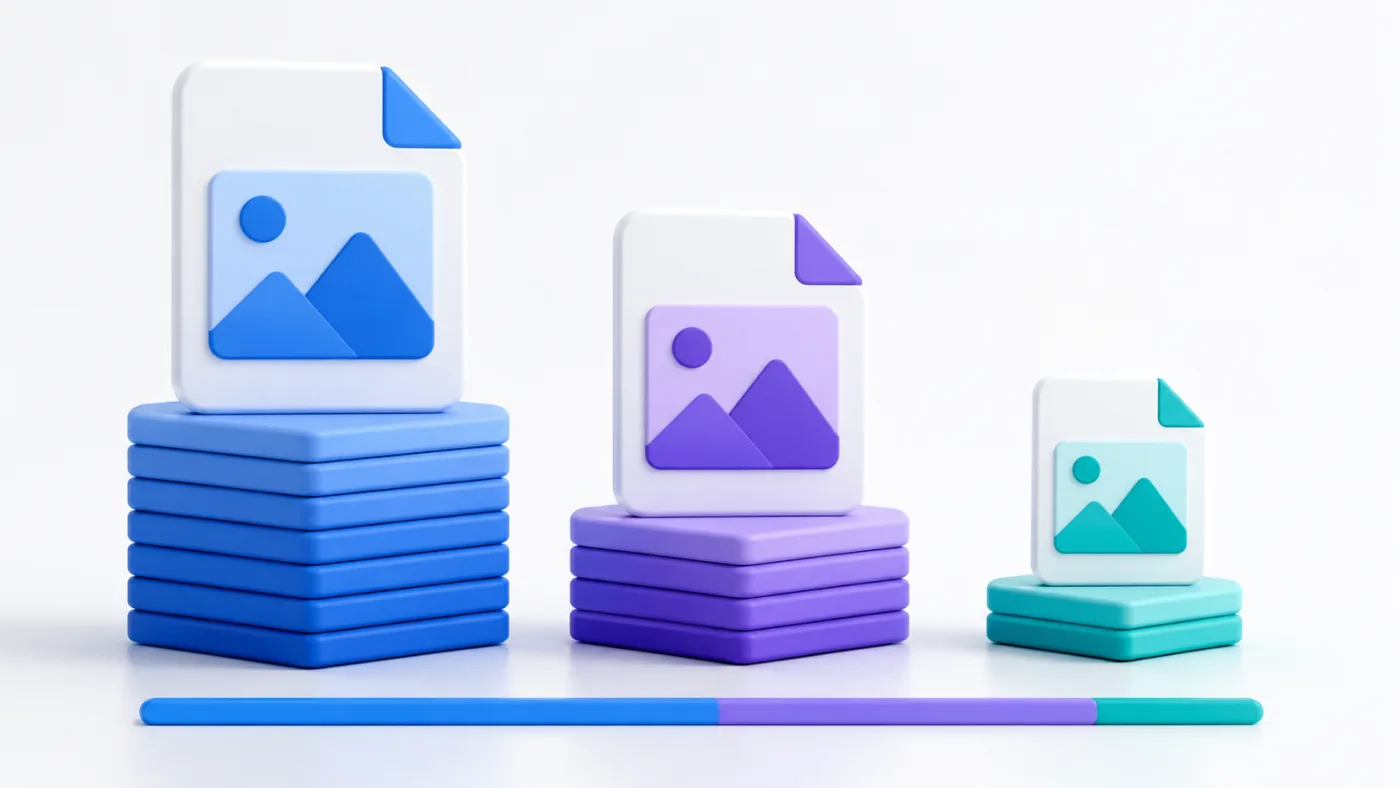
PDF compression is useful for recruitment, education, archiving, correspondence, and official submissions.
Common PDF compression mistakes and how to avoid them
Compressing an already compressed copy again
Repeated compression does not always produce a better result. Image quality may decline each time while the additional file-size reduction remains small. Return to the original file and choose a stronger setting rather than repeatedly compressing the previous output.
Failing to keep the original file
Save the compressed version under a new name instead of replacing the original. You may later need to print the document at higher quality or edit images and fine details.
Ignoring text in scanned pages
Text stored as an image is more vulnerable to compression than true digital text. Review tables, numbers, and small characters after compression, especially in legal and financial documents.
Conclusion
Compressing a PDF without visible quality loss depends on understanding what the document contains and choosing a suitable compression level. Start with medium compression, keep the original file, and review both text and images before sharing the result.
This approach gives you a lighter document that is easier to upload and send without sacrificing important information or normal reading clarity.
Frequently Asked Questions About PDF Compression
Does PDF compression affect searchable text?
Searchability is usually preserved when the original file contains true digital text that can be selected and copied. Scanned pages may need OCR to add a searchable text layer.
What is the difference between standard and maximum compression?
Standard compression aims to balance file size and visual quality. Maximum compression reduces image resolution more aggressively to produce a smaller file and therefore requires closer review afterward.
Can the original quality be restored after compression?
Data removed from a compressed copy cannot be restored. Keep the original high-quality file and use the compressed version for uploading and sharing.
Why do some PDF files barely shrink after compression?
The PDF may already be optimized, may consist mainly of text and vector graphics, or may contain little redundant image data that can be reduced further.