
JPG to PNG
JPG to PNG Guide: Preserve Image Quality and Transparency
Learn the practical differences between JPG and PNG, what conversion can and cannot improve, and how to prepare images for transparent-background workflows.
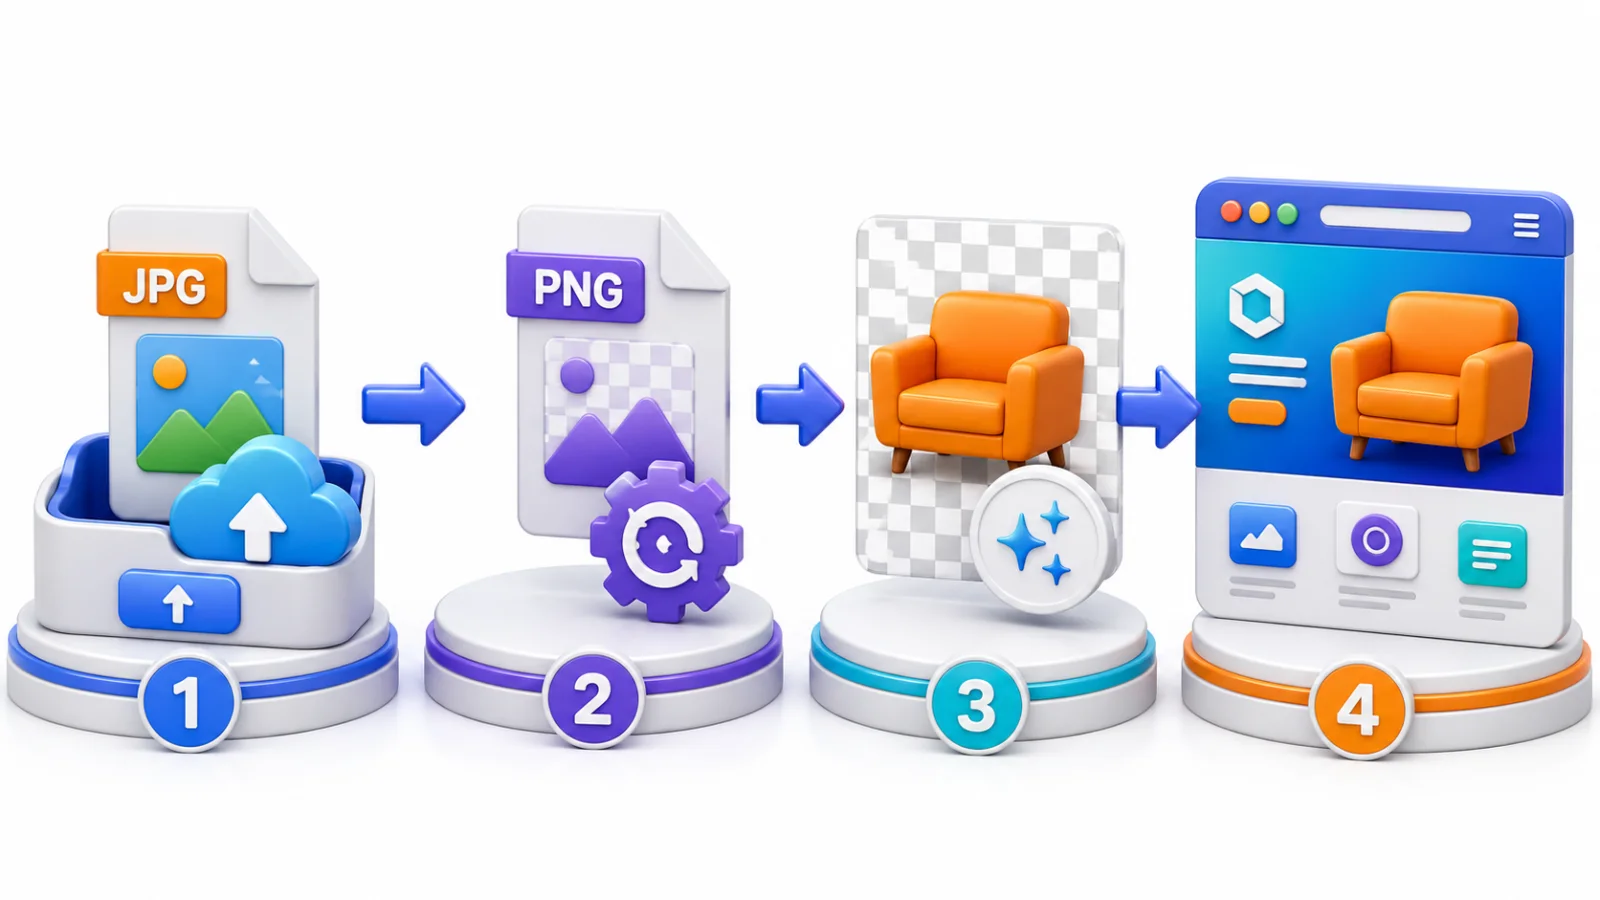
Introduction: Why does image quality vary by format?
Two similar images may look almost identical on a phone screen, but the differences become much clearer when you zoom in on fine details or use the image in a logo or design with small text. A file format is more than an extension added to an image name; it determines how colors, pixels, and transparency are stored inside the file.
JPG is commonly used for photographs because it can reduce file size significantly, while PNG is often preferred when sharp lines, graphics, or transparent backgrounds matter more than achieving the smallest possible file. There is no single format that is best in every situation; each format is better suited to particular uses.
In this guide, you will learn the practical differences between JPG and PNG, what actually happens during conversion, when conversion can help preserve design clarity, and when it simply increases file size without providing a meaningful benefit.
Choosing the right format helps preserve image quality and avoids using a file that is heavier than necessary.
How does JPG work, and why are JPG files often small?
JPG, or JPEG, uses lossy compression. The compression algorithm reduces some color information and fine detail that the human eye is less likely to notice under normal viewing conditions. This makes the file lighter and easier to upload or share.
This approach works well for photographs, product images, and landscapes because these images contain many color gradients and irregular details. They can often be compressed to a reasonable degree without creating an obvious difference at normal viewing sizes.
The weakness becomes more noticeable with small text, straight lines, logos, or geometric graphics with sharp edges. Compression can create unwanted dots, halos, or color artifacts around letters and edges, and those artifacts become more visible as the compression level increases.
Repeatedly opening, editing, and saving a JPG can also apply additional lossy compression each time, gradually removing more detail. For that reason, JPG is not ideal as a frequently edited working file when preserving sharp edges is a priority.
How does PNG preserve sharp details?
PNG uses lossless compression. This means the format reduces file size by organizing repeated data without discarding additional pixel information each time the file is saved.
This is especially useful for logos, icons, illustrations, screenshots, and images that contain text. Edges stay sharper and do not develop the same kinds of compression artifacts commonly seen in JPG. A PNG can also be saved repeatedly without introducing the same type of additional lossy degradation that JPG compression can create.
PNG does not preserve editable design layers in the way a PSD or the original file from a design application does. It stores the final flattened image and its pixel quality; it is not a substitute for the original project file.
Does converting JPG to PNG restore lost quality?
This is one of the most important points to understand: converting a JPG to PNG does not restore details that were already removed by JPG compression. If the original file is blurry or heavily compressed, the PNG version will preserve the image in its current state, but it cannot recreate colors or detail that no longer exist.
The real benefit of conversion is that it prevents additional lossy JPG compression during later editing and prepares the file for features supported by PNG, such as transparent backgrounds. PNG preserves the pixels that exist at the moment of conversion, but it cannot return the image to an earlier state before quality was lost.
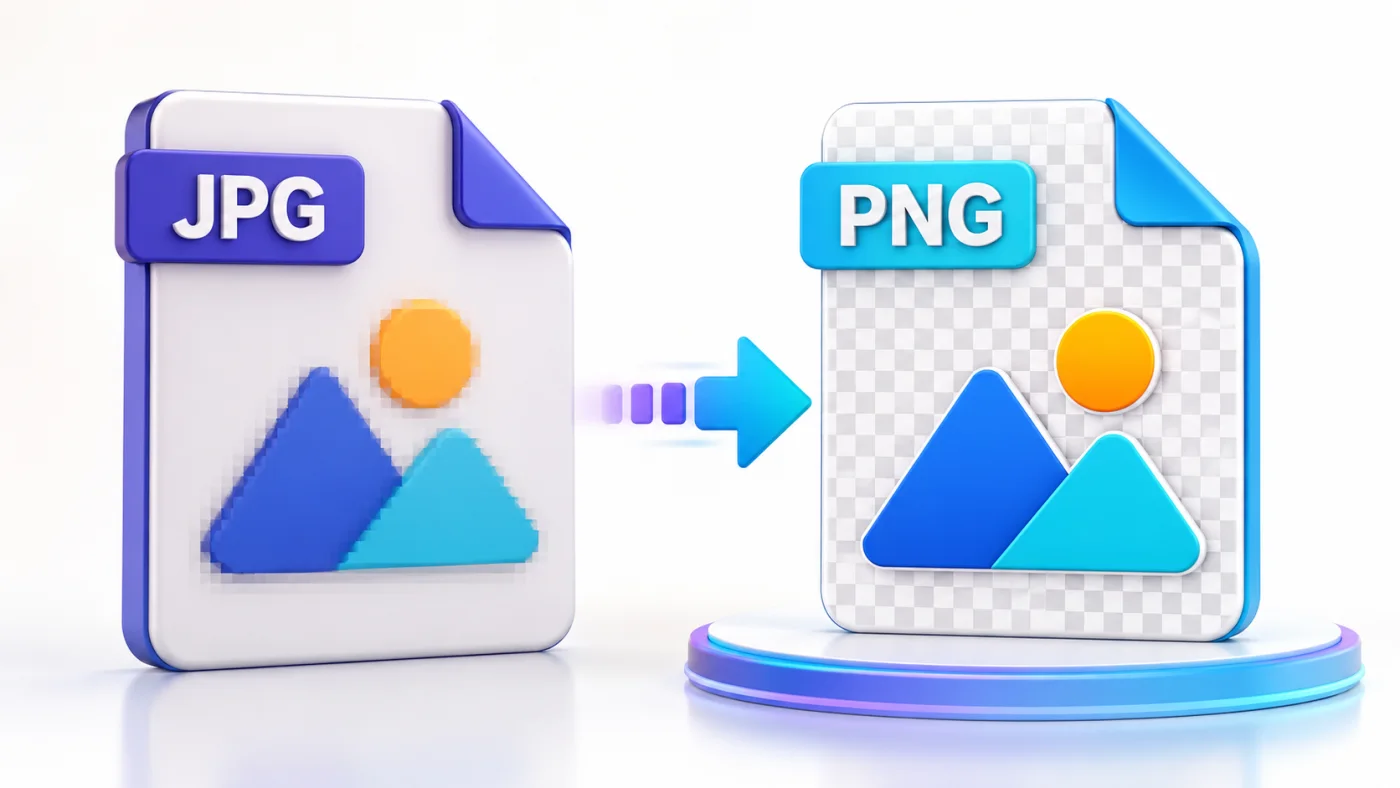
Conversion can prevent additional loss, but it cannot restore detail that was already removed.
When is converting JPG to PNG a good decision?
Logos and elements with sharp edges
If the file contains a logo, symbol, or clear text and you need to edit or combine it with a new design, PNG can help preserve more stable edges during later saves. When possible, it is even better to obtain the logo from its original vector source, such as SVG.
Screenshots and instructional images
Screenshots often contain text, menus, buttons, and precise borders. These elements do not benefit much from JPG compression and can become visibly soft when heavily compressed. PNG is therefore well suited to tutorials, software interfaces, and diagrams that need to remain easy to read.
Images that will have their background removed
JPG does not support transparency, so the final result should be saved as PNG or WebP when you remove a background. You can convert the file and then use the background remover to create a subject with a transparent background.
Images that will go through several rounds of editing
If you plan to add text, labels, or repeated edits to the same image, keeping an intermediate PNG can prevent new JPG compression from being added each time. If you are working in a design application that supports layers, keep the original project file as well.
When do you not need to convert?
Do not convert every image to PNG simply because the format preserves pixel data. Large photographs can become much heavier as PNG files without showing any meaningful improvement during normal viewing.
For photographs used on websites, a properly optimized JPG or WebP is often more efficient. You can read the guide to converting images to WebP to learn how the format can reduce file size and improve website performance.
A practical rule is to use PNG for transparency, sharp edges, text, and graphics, and use JPG or WebP for photographs when a lighter file is more important.
How to convert JPG to PNG step by step
You can use the JPG to PNG converter directly in your browser without installing a design program. Before you begin, make sure the source image is the best-quality version available because the output quality starts with the quality of the file you upload.
- Open the JPG to PNG converter.
- Select a JPG image or drag it into the upload area.
- Check the file name and dimensions before conversion.
- Start the conversion and wait for the PNG version to be prepared.
- Download the file and open it to confirm the colors and dimensions are correct.
- Use the background remover if you need actual transparency.
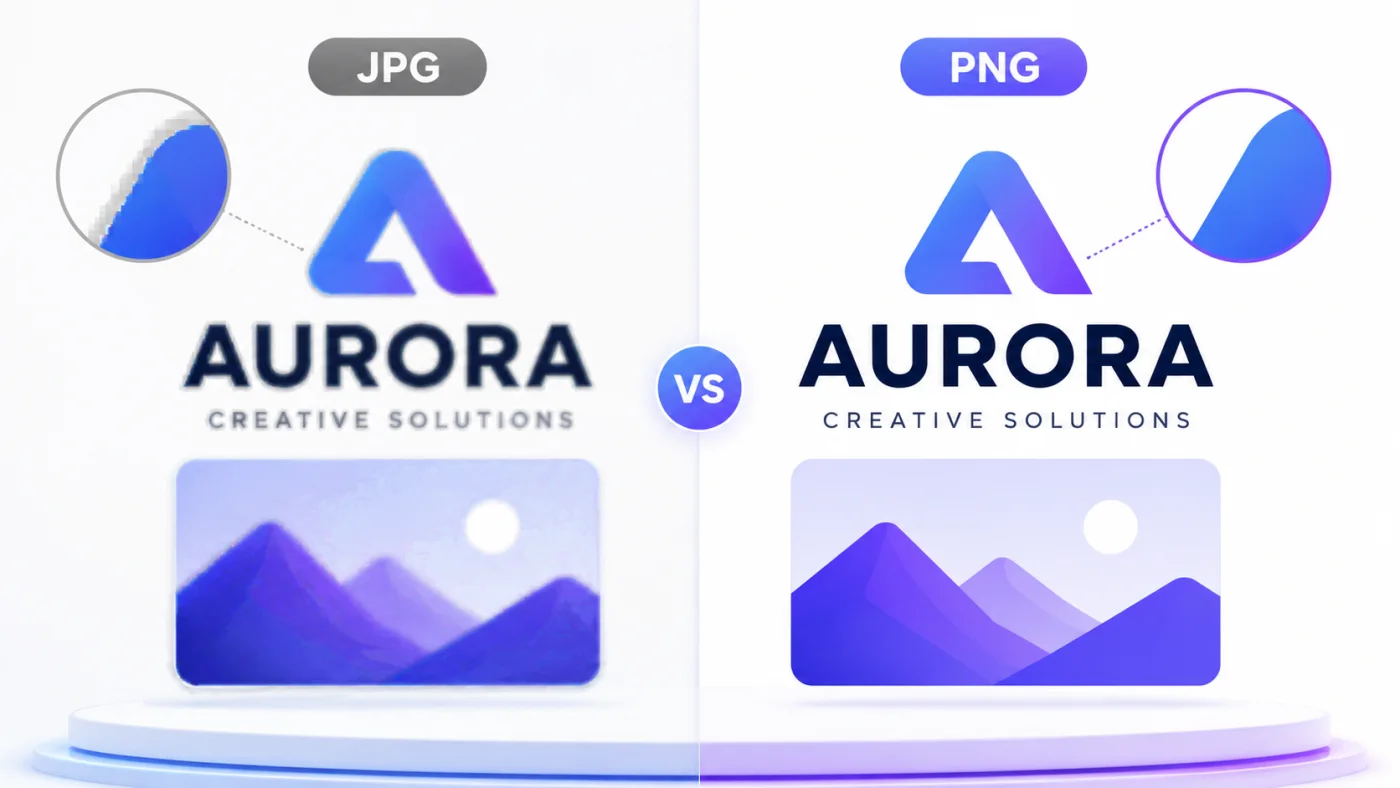
PNG supports transparency, but removing a background is a separate operation.
Why does the background not become transparent automatically?
When you convert JPG to PNG, the file structure changes to a format that can store transparency, but any white background already visible in the image remains made of actual white pixels. Format conversion alone cannot know whether white is a background that should be removed or part of the design.
To create a transparent background, the main subject has to be identified and separated from the background with a background-removal tool or image editor. The result is then saved as PNG so the removed areas remain transparent.
Why can the file become larger after conversion?
You may notice that the PNG version is larger than the original JPG, and that is normal. The JPG has already discarded some image data to reduce its size, while PNG stores all of the pixels that currently exist without applying new lossy compression.
A larger file does not mean the image has become more detailed than the original. It simply means the new format stores the existing data differently. After conversion, you can use the image compression tool to reduce file size, provided you review the result and avoid excessive compression.
If the image dimensions are much larger than the area where it will be displayed, use the image resize tool before publishing. Reducing unnecessary dimensions often has a greater effect on file size than changing the format alone.
A practical workflow for professional results
Always begin with the highest-quality source available. Do not use an image copied from a messaging app or a small screenshot when the original file exists. Then identify the purpose of the asset: Is it a logo, photograph, screenshot, or an element that needs a transparent background?
If it is a logo, graphic, or image with text, convert it to PNG, remove the background if necessary, and then set the final dimensions. If it is a photograph for a website, compare JPG and WebP before choosing PNG because a PNG version may be much heavier.
Once the image is ready, give it a clear file name and write descriptive alt text when you use it on a webpage. You can also review the image tools guide to choose the right tool for each stage.
Conclusion
Converting JPG to PNG is useful when you need transparency support, want to preserve sharp text and edges, or plan to continue editing without adding new JPG compression. It does not restore lost detail and it does not make a background transparent automatically.
The right format depends on the image and how it will be used, not on the assumption that PNG is always better. Use the JPG to PNG converter when it fits the task, then review file size, dimensions, and transparency before publishing the image or placing it in your final design.