
Free Image Tools Online · 21 min read
Free Image Tools: Convert, Compress, Resize, and Remove Backgrounds Online
A complete guide to converting JPG, PNG, and WebP, compressing and resizing images, removing backgrounds, and preparing files for websites, stores, and social media.
- What Are Online Image Tools?
- Why Do You Need Professional Image Tools?
- Benefits of Using Free Browser-Based Image Tools
- Image Tools Explained and When to Use Them
- Convert Images Between Formats
- Converting JPG to PNG.
- When Is PNG Better Than JPG?
- Convert JPG to WebP
- Convert PNG to WebP
- Converting PNG to JPG.
- What Happens to Transparency When PNG Is Converted to JPG?
- Converting WebP to JPG.
- Convert WebP to PNG
- Compressing images and reducing file size.
- What Is Image Compression?
- How Is Image File Size Reduced?
- When Should You Compress Images?
- How Do You Preserve Image Quality After Compression?
- Resize Images and Adjust Dimensions
- What Is the Difference Between File Size and Image Dimensions?
- When Do You Need to Resize an Image?
- Preserve the Image Aspect Ratio
- Resize or Crop?
- Does Enlarging an Image Improve It?
- Remove an Image Background
- What Is a Background Remover?
- When Is Background Removal Useful?
- How Do You Get Better Background-Removal Results?
- Background Removal vs. Changing the Background
- How to Choose the Right Image Tool
- Use an image converter when:
- Use JPG to PNG when:
- Use JPG or PNG to WebP when:
- Use PNG to JPG when:
- Use WebP to JPG when:
- Use image compression when:
- Use image resizing when:
- Use background removal when:
- Conversion vs. Compression vs. Resizing
- A Professional Image-Processing Workflow
- Prepare an Image for a Website
- Prepare a Product Image for an Online Store
- Prepare an Image for Social Media
- Prepare a Logo for Digital Use
- Prepare Images for a Long Article
- Use Image Tools to Improve Website Speed
- Choose the Right Format for a Website
- Using Image Tools for Online Stores
- Using Image Tools for Social Media
- Using Image Tools for Students and Employees
- Protecting Privacy When Using Image Tools
- Best Practices Before Editing Images
- Common Image-Processing Mistakes
- How Do You Check the Final Image Quality?
- Frequently Asked Questions About Image Tools
- Can I use image tools for free?
- Do I need to install software?
- What is the best image format?
- Does converting JPG to PNG improve quality?
- Can transparency be preserved when converting PNG to JPG?
- Why can PNG be larger than JPG?
- Is WebP suitable for websites?
- Why will a WebP image not open in some programs?
- What is the difference between image compression and resizing?
- Can I reduce file size without changing dimensions?
- Can I resize an image without distorting it?
- Does enlarging an image increase its real resolution?
- What is the best format for a transparent background?
- Can I remove the background from a product photo?
- Why is background removal sometimes inaccurate?
- In what order should I prepare an image for a website?
- Are compressed images suitable for printing?
- Can I use image tools on a phone?
- Conclusion
Images are used every day on websites, online stores, social media, presentations, official documents, and study projects. But an image you capture or download is not always ready to use immediately. It may be in an unsupported format, have a very large file size, use unsuitable dimensions, or contain a background that needs to be removed.
Free online image tools let you handle these tasks directly in your browser without installing complex design software. You can convert common image formats, reduce file size, resize images, remove backgrounds, and prepare a version that suits a website, store, or social platform in a few clear steps.
Instead of relying on a different application for every task, an image-tool collection gives you one place for common operations such as JPG to PNG conversion, WebP conversion, image compression, resizing, and background removal.
The goal is not simply to change a file extension. It is to produce an image that fits its intended use in terms of quality, file size, dimensions, transparency, and loading speed.
What Are Online Image Tools?
Online image tools are browser-based services that help you edit and convert images without installing software on your computer or phone.
They can be used for tasks such as:
- Converting images from one format to another.
- Converting JPG to PNG.
- Converting JPG and PNG to WebP.
- Converting PNG to JPG.
- Converting WebP to JPG.
- Compressing images and reducing file size.
- Changing image width and height.
- Preparing images for websites.
- Removing image backgrounds.
- Creating a version compatible with a particular program or platform.
Each tool has a focused purpose, which makes simple tasks easier than opening a large design application for a minor change.
If you only need to compress an image or adjust its dimensions, installing professional software and navigating unrelated settings is often unnecessary.
Why Do You Need Professional Image Tools?
An image can look fine when viewed on screen but still be unsuitable for publishing, uploading, or printing.
Common problems include:
- The file is larger than the allowed upload limit.
- The image dimensions do not fit the required space.
- The format is unsupported by a website or application.
- The background does not suit the design.
- The image takes too long to load.
- The quality is higher than the final use requires.
- The image is transparent but the platform requires a solid background.
- The file uses a newer format that an older program cannot open.
- The image is too small for the intended use.
Professional image tools help solve these problems without requiring you to manually rebuild the image.
Benefits of Using Free Browser-Based Image Tools
No Software Installation
You can complete the task in the browser, saving time and storage space and avoiding unnecessary software installation.
Easy Access
You can use the tools from a computer, phone, or tablet as long as the browser supports image uploads and downloads.
Fast, Focused Tasks
Each tool is designed for one operation, so you can reach the result without navigating complex menus.
Support for Common Formats
The most common web image formats, including JPG, PNG, and WebP, are covered by the core tools.
Useful for Everyday Work
The tools are practical for students, website owners, marketers, designers, store owners, content creators, and anyone who works with images regularly.
Create Multiple Versions of One Image
You can keep the original image, create a compressed version for a website, a transparent version for design work, and another version sized for a particular platform.
Image Tools Explained and When to Use Them
Convert Images Between Formats
An image converter changes the file format and creates a new version that can be used on another website, program, or platform.
Conversion does not automatically improve image quality. It saves the existing image content in a different format, and each format has properties that make it better suited to certain uses.
Use an image converter when:
- A platform does not support the current format.
- You need a format that supports transparency.
- You want a lighter web format.
- You need to open an image in software that does not support WebP.
- You are preparing an image for print or web use.
- You want to standardize a group of images into one format.
- You need to share the file in a more widely supported format.
Before converting, define the final use. Choose the format according to what you need to do with the image afterward, not simply because one format sounds newer or more familiar.
Converting JPG to PNG.
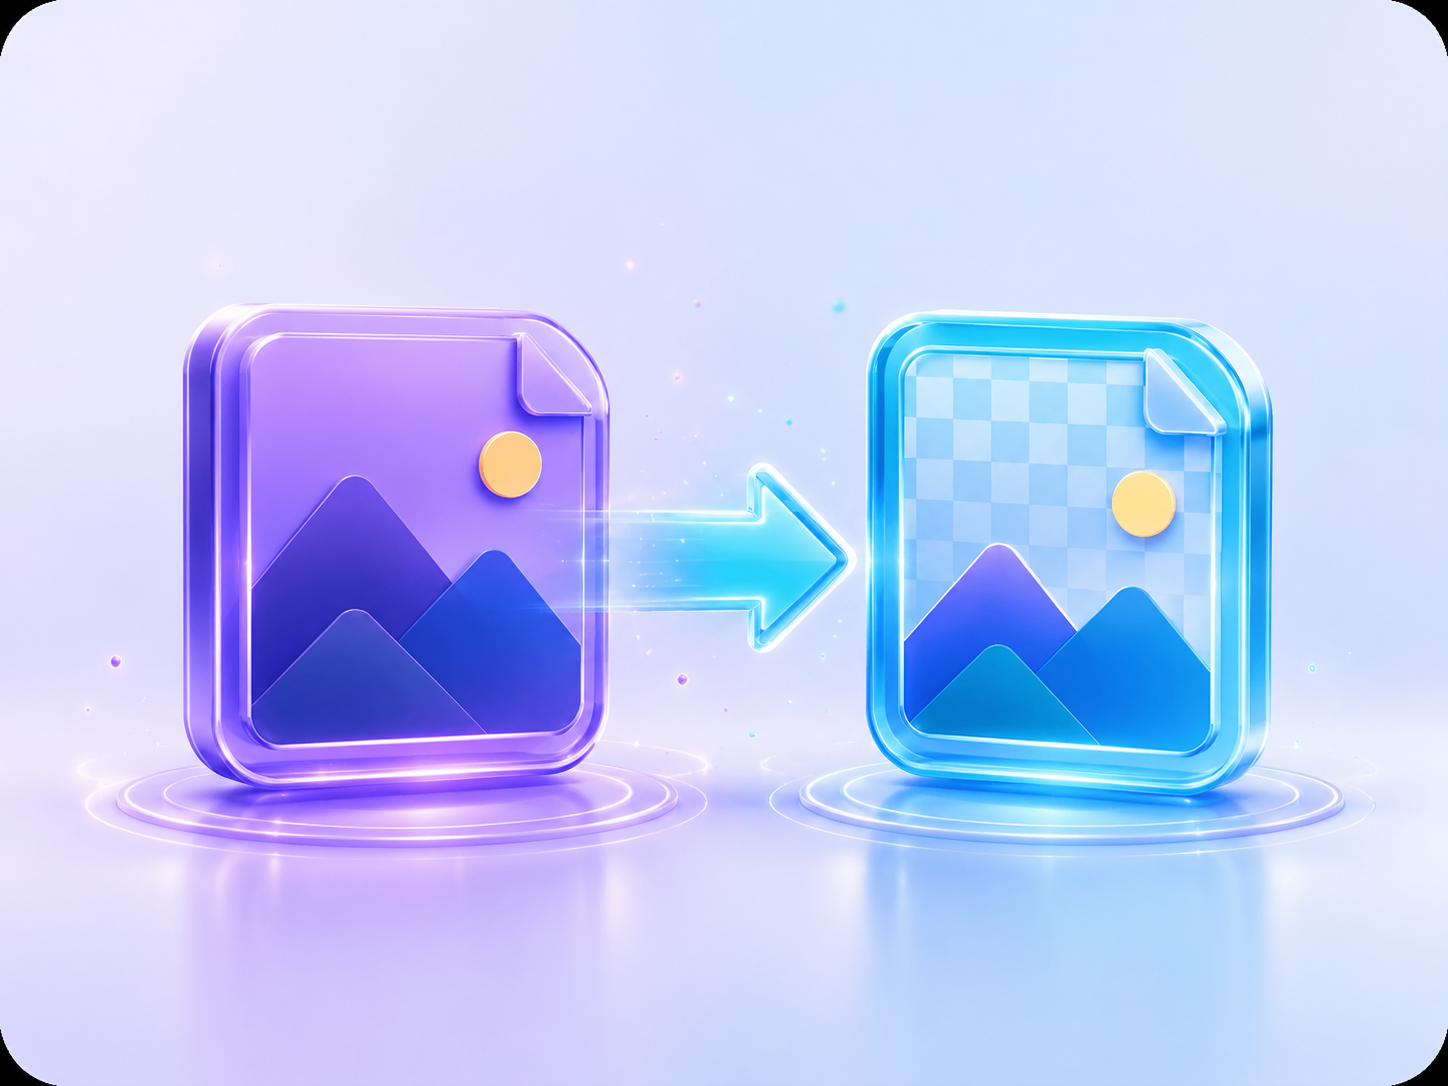
Converting a JPG image to PNG and choosing the right format
JPG works well for photographs and images with many colors and gradients, while PNG provides consistent lossless storage and supports transparent backgrounds.
You may convert JPG to PNG when:
- You need to use the image in design software.
- You want a PNG version that can support transparency in future edits.
- A platform does not accept JPG.
- You want project images standardized as PNG.
- You need to place the image in a presentation or interface.
- You plan to process the image further with tools that work better with PNG.
Converting JPG to PNG does not restore detail that was already lost in the JPG. If the source JPG is low quality or visibly compressed, the PNG will preserve that existing quality rather than making it sharper automatically.
A PNG file can also be larger than a JPG, especially for large photographs. Use the conversion when you actually need PNG’s characteristics.
When Is PNG Better Than JPG?
PNG is usually well suited to images that contain:
- Logos.
- Sharp text.
- Symbols and icons.
- Screenshots.
- Simple graphics.
- Fine edges.
- Transparent backgrounds.
- User-interface elements.
JPG is generally more suitable for photographs and scenes with extensive color variation and detail.
Choosing the right format helps preserve the quality you need without creating a file that is unnecessarily large.
Convert JPG to WebP
WebP is widely used on modern websites because it can provide good visual quality with an efficient file size in many situations.
Convert JPG to WebP when:
- You want pages to load faster.
- You are preparing product images for an online store.
- An article contains many images.
- You want to reduce data usage.
- You are optimizing an image gallery.
- You use images in product cards.
- You are preparing images for mobile devices.
WebP is particularly useful when the image is intended for web display rather than print or editing in older software.
After conversion, inspect fine details such as faces, text, and edges to make sure the result is suitable.
Convert PNG to WebP
PNG files can become large on websites, especially when the image dimensions are large or the artwork contains substantial detail.
Converting PNG to WebP can create a lighter version for online use while preserving transparency when the tool and image support it.
This conversion can be useful for:
- Website logos.
- Section images.
- Illustrations.
- Application interfaces.
- Product images with transparent backgrounds.
- Large icons.
- Images inside articles.
- Repeated design elements.
Keep the original PNG as a source file and use WebP as the publishing version. This gives you a high-quality source that can still be edited later.
Converting PNG to JPG.
PNG supports transparency, while JPG does not. When a transparent PNG is converted to JPG, transparent areas must be replaced with a solid color, commonly white.
PNG-to-JPG conversion is useful when:
- You do not need transparency.
- You want a smaller format for a photographic image.
- A platform does not accept PNG.
- An upload form accepts only JPG.
- You need compatibility with older software or devices.
- You want all images in a folder to use the same common format.
- You need a version ready for printing or sharing.
Check the final background color before conversion. A white logo, for example, may disappear visually if transparent areas are automatically filled with white.
What Happens to Transparency When PNG Is Converted to JPG?
JPG cannot store transparent areas, so they are replaced with a solid background color.
If your image contains:
- A white logo.
- A transparent shadow.
- Soft semi-transparent edges.
- An isolated object with no background.
- Transparency effects.
choose the background color carefully before creating the JPG.
If transparency must be preserved, continue using PNG or a WebP file that supports transparency instead of JPG.
Converting WebP to JPG.
WebP is common on modern websites, but some older programs and systems may not support it fully.
Convert WebP to JPG when:
- A program cannot open the WebP file.
- A recipient specifically requires JPG.
- You need to use the image in an older system.
- You are working with limited editing software.
- A platform does not accept WebP.
- You need to print the image.
- You want to share a familiar, widely supported file type.
JPG offers broad compatibility, which makes it useful when support is more important than newer web features.
If the WebP file contains transparency, that transparency will be lost when converting to JPG.
Convert WebP to PNG
WebP-to-PNG conversion is useful when the image contains transparency or when you want to edit it in software with stronger PNG support.
Typical uses include:
- Extracting a logo from a website asset.
- Keeping a transparent background.
- Editing the image in design software.
- Placing it into a presentation.
- Creating interface elements.
- Preparing one image for multiple uses.
The PNG may be larger than the original WebP because PNG does not always prioritize file-size efficiency in the same way.
Compressing images and reducing file size.
Compressing an image to reduce file size while preserving useful visual quality
What Is Image Compression?
Image compression reduces file size while trying to preserve the best useful visual quality.
Compression is different from resizing. You can compress an image while keeping its width and height, and you can reduce its dimensions without applying additional compression.
Image compression helps when:
- The file exceeds an upload limit.
- You want to send the image by email.
- You need faster image loading on a website.
- You want to reduce storage usage.
- You are uploading many product images.
- You want to share images from a phone.
- You are preparing an image for an online form.
- You want to improve page speed.
How Is Image File Size Reduced?
Image size can be reduced in several ways, including:
- Lowering the save quality by a controlled amount.
- Removing unnecessary metadata.
- Using a more efficient compression algorithm.
- Changing to a lighter format.
- Reducing dimensions when they are larger than needed.
- Reducing color complexity in suitable images.
The smallest file is not always the best result. Excessive compression can make an image visibly soft or blocky.
A professional target is a lightweight file that still looks clear at the size where it will actually be displayed.
When Should You Compress Images?
It is often useful to compress images before:
- Uploading them to a website.
- Adding them to an online store.
- Sending them by email.
- Inserting them into an article.
- Using them on a landing page.
- Uploading them to a profile or application.
- Sharing them through messaging apps.
- Adding them to a large presentation.
- Archiving a very large collection of images.
Original images intended for print or long-term storage should not be aggressively compressed. Keep the original and create a separate optimized copy for electronic use.
How Do You Preserve Image Quality After Compression?
Start from the Original
The clearer the source image, the better the compressed result is likely to be.
Do Not Compress the Same Image Repeatedly
Repeatedly recompressing an image can introduce progressively more visible artifacts.
Inspect Fine Details
Check faces, text, logos, and edges after compression.
Choose the Right Level for the Use
Website images do not always need print-level quality, while images for printed catalogs require higher resolution and detail.
Keep the Original File
Do not replace your source image with the compressed copy unless you are certain you will not need the original later.
Resize Images and Adjust Dimensions
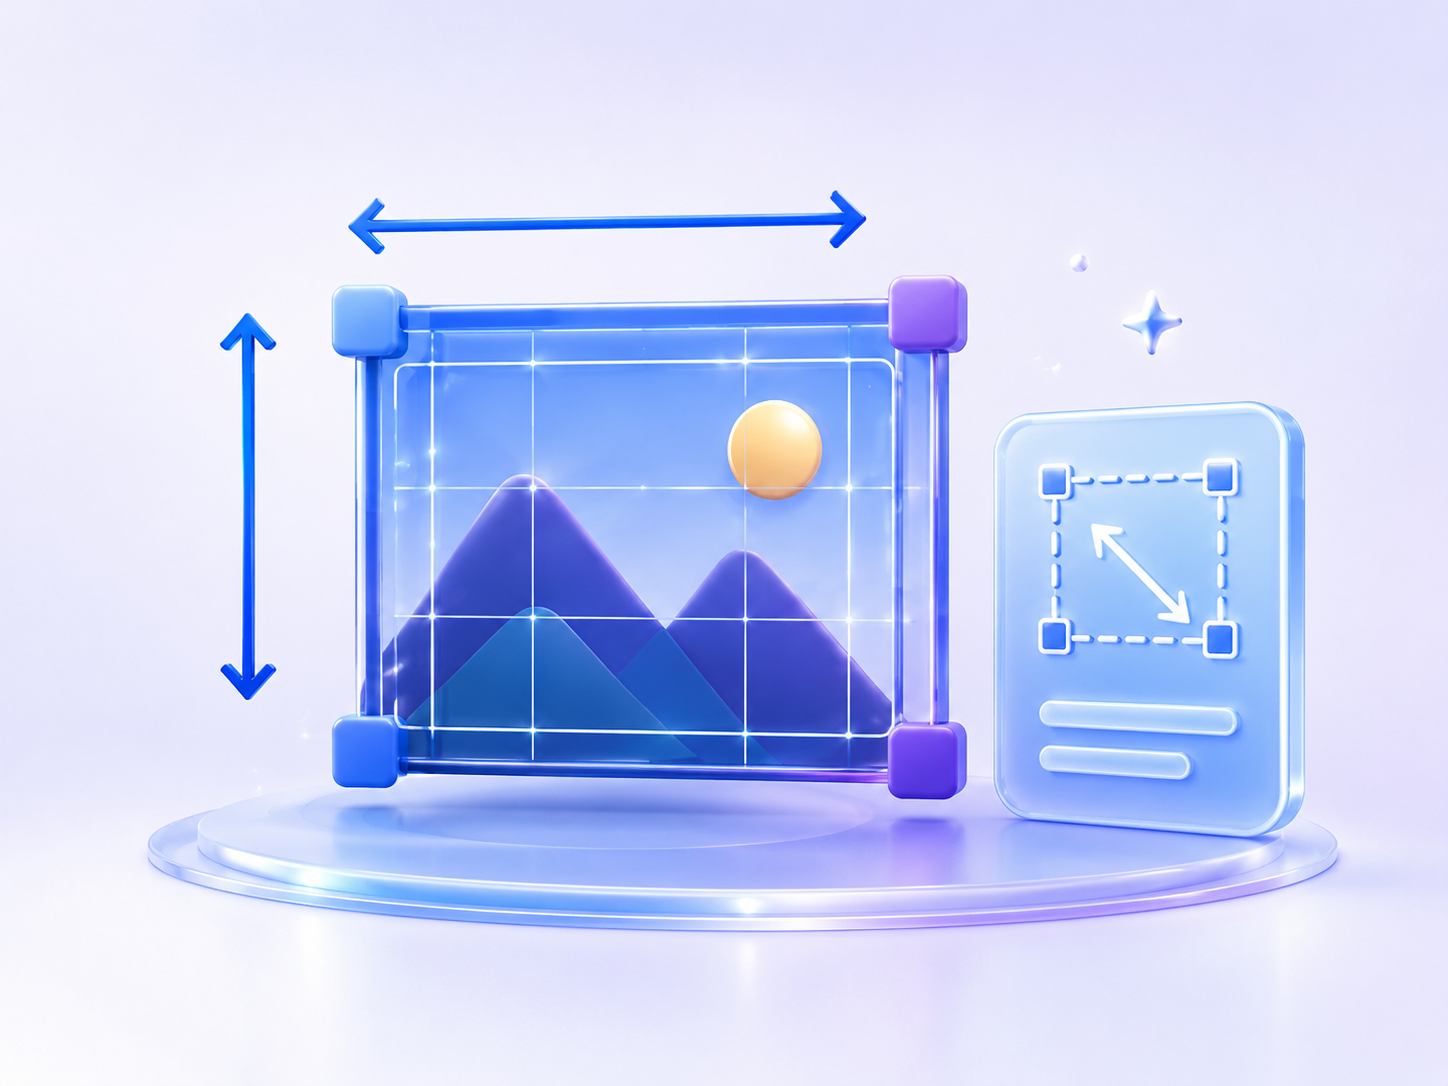
Resizing an image and adjusting width and height correctly
What Is the Difference Between File Size and Image Dimensions?
Image dimensions refer to width and height in pixels, for example:
1200 × 800 pixels
File size refers to how much storage space the file uses, for example:
500 KB or 3 MB
Two images can have identical dimensions but different file sizes because of their format, compression level, and amount of visual detail.
A resizing tool changes width and height, while a compression tool reduces file size.
When Do You Need to Resize an Image?
You may need to resize an image when:
- It is larger than the display area on a website.
- You need a specific size for a product card.
- You are preparing a profile photo for a form.
- You are publishing content on a social platform.
- You need a thumbnail.
- You want store product images to use consistent dimensions.
- You are preparing a logo for a defined space.
- You need to reduce dimensions from a high-resolution camera image.
- You want separate versions for mobile and desktop.
Preserve the Image Aspect Ratio
When changing width or height, preserve the aspect ratio so the image does not look stretched or squeezed.
If width and height are changed independently in the wrong proportions, you may see:
- Faces that look unnaturally wide.
- Distorted logos.
- Circles that become ovals.
- Products that look unrealistic.
- Stretched text.
- An unbalanced composition.
Use the option to preserve the original aspect ratio when you do not need an exact fixed canvas.
If a platform requires specific dimensions, cropping may be better than distorting the image.
Resize or Crop?
Resizing
Changes width and height while keeping all of the image content.
Cropping
Removes part of the outer area to reach a required aspect ratio or composition.
If you have a landscape image and need a square version, simply reducing its dimensions will not make it square. You will need to crop the sides or add background space.
Does Enlarging an Image Improve It?
Increasing dimensions does not create real detail that was missing from the source image.
If an image is small or blurry, traditional enlargement can lead to:
- Visible pixels.
- Soft edges.
- Blurred text.
- Lost detail.
- An unnatural appearance.
Use a larger original whenever possible. Resizing is most effective when reducing a large image to fit a specific use.
Remove an Image Background

Removing an image background and isolating a product or person
What Is a Background Remover?
A background-removal tool isolates the main subject and removes the surrounding area, allowing you to create an image with a transparent background or place the subject on a new background.
It can be used with:
- Product photos.
- Portraits.
- Logos.
- Tools and devices.
- Clothing.
- Furniture.
- Food.
- Design elements.
- Marketing images.
The tool can save time compared with manual selection, especially when you need a quick result for a store, advertisement, or social post.
When Is Background Removal Useful?
Product photos.
A consistent background helps the product stand out and makes store pages look more uniform.
Advertising
Once isolated, the subject can be placed on a different background or integrated into a marketing design.
Portraits
You can use a more suitable background for a résumé, identification card, or professional profile.
Social Media Designs
Removing the background makes it easier to combine a person or product with text and other visual elements.
Logos and Design Elements
You can remove an unwanted white background and create a transparent asset.
How Do You Get Better Background-Removal Results?
Use a Clear Image
Results are usually better when the subject edges are clearly defined.
Use a Background That Differs from the Subject
If a white product is photographed against a white background, separating the boundaries can be more difficult.
Use Balanced Lighting
Strong shadows can make the tool confuse the background with the subject.
Avoid Very Noisy or Low-Quality Images
Low-resolution images can produce inaccurate or rough edges.
Inspect Small Details
Check hair, fingers, glass, and thin edges after the background is removed.
Save in a Format That Supports Transparency
Use PNG or WebP when you need a transparent background.
Background Removal vs. Changing the Background
Removing a background means making the area around the subject transparent.
Changing a background means placing a new color or image behind the isolated subject.
A practical workflow is:
- Upload the image.
- Remove the original background.
- Download a transparent copy.
- Place the subject in a new design.
- Choose a suitable color or background.
- Export in the required format.
Keep a transparent master copy because it gives you more flexibility to reuse the subject on different backgrounds later.
How to Choose the Right Image Tool
Use an image converter when:
You need to change the file format for compatibility with a website, application, or specific use.
Use JPG to PNG when:
You need a PNG file or plan to work with the image in a project that uses PNG.
Use JPG or PNG to WebP when:
You want a lightweight version optimized for web use.
Use PNG to JPG when:
You do not need transparency and want a widely supported format.
Use WebP to JPG when:
A program or platform does not support WebP.
Use image compression when:
The dimensions are already correct but the file is too large.
Use image resizing when:
The width or height does not fit the required display area.
Use background removal when:
You want to isolate a person, product, or object from its background.
Conversion vs. Compression vs. Resizing
These operations are sometimes confused, but they solve different problems.
Image Conversion
Changes the file format, for example from PNG to JPG.
Image Compression
Reduces the file size while often keeping the same format and dimensions.
Resizing
Changes the number of pixels in the width and height.
Background Removal
Isolates the main subject and removes the surrounding area.
You may need several operations on the same image. For example, remove a product background, resize the result, convert it to WebP, and then compress the final version before uploading it to a store.
A Professional Image-Processing Workflow
Prepare an Image for a Website
- Start with the highest-quality source available.
- Crop unnecessary areas when needed.
- Resize to match the display area.
- Convert to WebP when appropriate.
- Compress at a suitable level.
- Review quality on both phone and desktop.
- Keep the original outside the website.
Prepare a Product Image for an Online Store
- Use clear lighting and a simple background.
- Remove the background if the store design requires it.
- Place the product in a consistent canvas.
- Standardize dimensions across product images.
- Choose PNG for transparency or WebP for efficient web delivery.
- Compress images before uploading.
- Check edges, colors, and fine details.
Prepare an Image for Social Media
- Identify the required post or story dimensions.
- Keep the main subject in a safe position.
- Use a Clear Image
- Resize without distortion.
- Choose JPG or PNG according to the content.
- Compress moderately.
- Preview the result on a phone screen.
Prepare a Logo for Digital Use
- Use a high-quality source.
- Remove any unwanted background.
- Keep a transparent PNG version.
- Create a WebP version for the website.
- Prepare several dimensions for different placements.
- Do not enlarge a small copy later.
- Keep the original source file.
Prepare Images for a Long Article
- Choose images that support the content.
- Use a consistent display width.
- Reduce excessive dimensions.
- Convert to WebP when suitable.
- Compress before uploading.
- Use descriptive filenames.
- Add appropriate alt text on the website.
Use Image Tools to Improve Website Speed
Large images can directly affect page-loading time. On some pages, image files account for far more data than the text and interface assets combined.
When preparing website images:
- Do not upload an extremely wide image if it will only appear in a small card.
- Use WebP when appropriate.
- Compress images before uploading.
- Create different sizes for different devices.
- Use thumbnails instead of full originals in lists.
- Avoid large PNG files for ordinary photographs.
- Keep transparency only when it is actually required.
- Review image quality after each operation.
- Do not rely on the browser merely to display a huge source image at a smaller visual size.
If an image is displayed at 800 pixels wide, there is usually little benefit in uploading a version several thousand pixels wide unless a special zoom or download feature requires it.
Choose the Right Format for a Website
JPG
Suitable for photographs and images with many colors and details.
PNG
Suitable for logos, graphics, screenshots, and transparent backgrounds.
WebP
Well suited to website delivery and often provides a more efficient file size for the same practical display quality.
No single format is best for every image. The choice depends on the image content, transparency requirements, required quality, and compatibility with the final destination.
Using Image Tools for Online Stores
Product images benefit from visual consistency. Mixed dimensions and backgrounds can make store pages look disorganized.
Image tools can help you:
- Remove product backgrounds.
- Standardize dimensions.
- Compress images.
- Convert them to WebP.
- Create thumbnails.
- Convert unsupported formats.
- Prepare images on a white background.
- Reduce category-page weight.
- Create versions suitable for phones.
Compression should not hide product details or noticeably change colors. Customers need to see material texture, edges, proportions, and fine features clearly.
Using Image Tools for Social Media
Each platform uses different display areas, and images may be cropped automatically when their dimensions are unsuitable.
Resizing, conversion, and compression can help with:
- Preparing post images.
- Creating story images.
- Preparing profile pictures.
- Creating account covers.
- Compressing images for faster upload.
- Converting PNG to JPG when needed.
- Removing backgrounds from people or products.
- Keeping a consistent visual identity.
Preview the image on a phone before publishing. Text that looks clear on a computer screen can be too small inside a mobile app.
Using Image Tools for Students and Employees
Image tools can help with everyday tasks such as:
- Reducing the file size of an ID image for an application.
- Resizing a profile photo.
- Converting a screenshot to JPG.
- Compressing document images.
- Preparing visuals for presentations.
- Removing a logo background.
- Converting images to a format accepted by an online form.
- Standardizing images in a report or project.
- Preparing images for a résumé or professional profile.
Before uploading an image to an official platform, confirm the required dimensions, format, and file size. Some systems reject a file even when the visual content itself is correct.
Protecting Privacy When Using Image Tools
Images can contain personal data or information you do not intend to share.
Before uploading an image, check:
- What content is visible in it.
- Whether documents or numbers can be read.
- Whether other people’s faces are visible.
- The service’s file-processing policy.
- How uploaded images are deleted after processing.
- Whether the connection is secure.
- The device and network you are using.
Avoid uploading:
- Sensitive document images without a clear need.
- Bank cards.
- Visible passwords.
- Private documents.
- Internal company images.
- Files you do not have permission to edit or share.
Keep original files in a secure place and remove unnecessary temporary copies from your Downloads folder.
Best Practices Before Editing Images
Keep the Original Image
Work on a copy and do not make the processed file your only source.
Define the Final Use
Decide whether the image is for a website, print, an online store, social media, or an official document.
Perform Operations in the Right Order
In many workflows, background removal and cropping should come before resizing and final compression.
Do Not Re-save the Image Repeatedly
Repeated saving can reduce quality, especially with JPG.
Use Clear Filenames
An organized filename can look like:
product-blue-chair-800x800.webp
instead of:
IMG_4837-final-new2.jpg
Review at Actual Size
An image can look fine when reduced in a preview while showing defects when viewed at full size.
Common Image-Processing Mistakes
Converting Formats Without a Clear Goal
You may create a larger file or lose transparency without gaining any useful benefit.
Compressing Too Aggressively
Excessive compression can blur details and edges.
Changing Width and Height Independently
This can distort people, products, and logos.
Deleting the Original Image
You may later need a larger or clearer source.
Converting a Transparent Logo to JPG
The result gains a solid background that may not suit the design.
Uploading a Huge Image into a Small Display Area
This increases page weight without adding visible benefit.
Using PNG for Large Photographs
This can produce a file much larger than necessary.
Enlarging a Small Image Too Much
This exposes pixels and reduces apparent clarity.
Not Checking Edges After Background Removal
Parts of the old background may remain, or parts of the subject may be removed.
Processing the Same File Repeatedly
Repeated conversion and compression can gradually reduce quality.
How Do You Check the Final Image Quality?
Review the processed image against these points:
- Are the dimensions correct?
- Is the image clear at actual display size?
- Is any text inside it readable?
- Do the colors look natural?
- Is transparency preserved correctly?
- Are the edges clean?
- Is the file size appropriate?
- Is the format supported?
- Does the image open on more than one device?
- Does it fit the place where it will be displayed?
- Have you kept the original?
- Is the filename clear?
Frequently Asked Questions About Image Tools
Can I use image tools for free?
Yes. Many conversion, compression, resizing, and background-removal tasks can be performed for free, although file-size or usage limits vary by tool.
Do I need to install software?
No. Online image tools run in the browser and normally do not require an installed application.
What is the best image format?
It depends on the use. JPG is generally suitable for photographs, PNG is useful for transparency and graphics, and WebP is often a strong choice for websites.
Does converting JPG to PNG improve quality?
No. Conversion does not restore lost detail. It creates a PNG version from the quality available in the source JPG.
Can transparency be preserved when converting PNG to JPG?
No. JPG does not support transparent backgrounds, so transparent areas must be replaced with a solid color.
Why can PNG be larger than JPG?
PNG stores image data differently and can preserve fine details and transparency, which can make files larger, especially for photographs.
Is WebP suitable for websites?
Yes. WebP is widely used on websites because it often offers a useful balance between image quality and file size.
Why will a WebP image not open in some programs?
The software may be old or may not support the format. Converting the image to JPG or PNG can improve compatibility.
What is the difference between image compression and resizing?
Compression reduces file size, while resizing changes width and height in pixels.
Can I reduce file size without changing dimensions?
Yes. An image can be compressed while keeping the same dimensions, although quality can change depending on the compression level.
Can I resize an image without distorting it?
Yes, as long as the original aspect ratio is preserved.
Does enlarging an image increase its real resolution?
Increasing dimensions does not create genuine new detail and can make existing defects more visible.
What is the best format for a transparent background?
PNG is one of the most common choices for transparency. WebP can also be used when the target platform supports transparent WebP images.
Can I remove the background from a product photo?
Yes. You can isolate the product and create a transparent version or place it on a new background.
Why is background removal sometimes inaccurate?
Low-quality lighting, similar colors between subject and background, low image resolution, or fine details such as hair and glass can make separation more difficult.
In what order should I prepare an image for a website?
Remove the background or crop first when needed, then resize, convert to the preferred format, and compress the final version last.
Are compressed images suitable for printing?
It depends on the compression level and resolution. Keep a high-quality version for print and a lighter version for digital use.
Can I use image tools on a phone?
Yes. You can use them from a phone when the browser supports image uploads and downloads, although managing large files may be easier on a computer.
Conclusion
Free online image tools provide a practical way to process and prepare images without installing complicated software. You can convert between JPG, PNG, and WebP, reduce file sizes, adjust width and height, remove backgrounds, and create versions suited to websites, online stores, social platforms, and documents.
Choosing the right tool starts with identifying the problem. If the format is unsupported, use a converter. If the file is too large, compress it. If the dimensions do not fit, resize it. If you need to isolate a product or person, remove the background.
For a professional result, keep the original, define the final use before processing, preserve the image aspect ratio, avoid excessive compression, choose the appropriate format, and review the result after downloading it.
Following these steps will help you create clear, lightweight images that fit their destination, whether that is a website, an online store, a social platform, a presentation, or a personal project.