
free background remover · 10 min read
free background remover
A practical guide to choosing the right image, removing backgrounds cleanly, and preparing people or product photos for design, stores, and advertising.
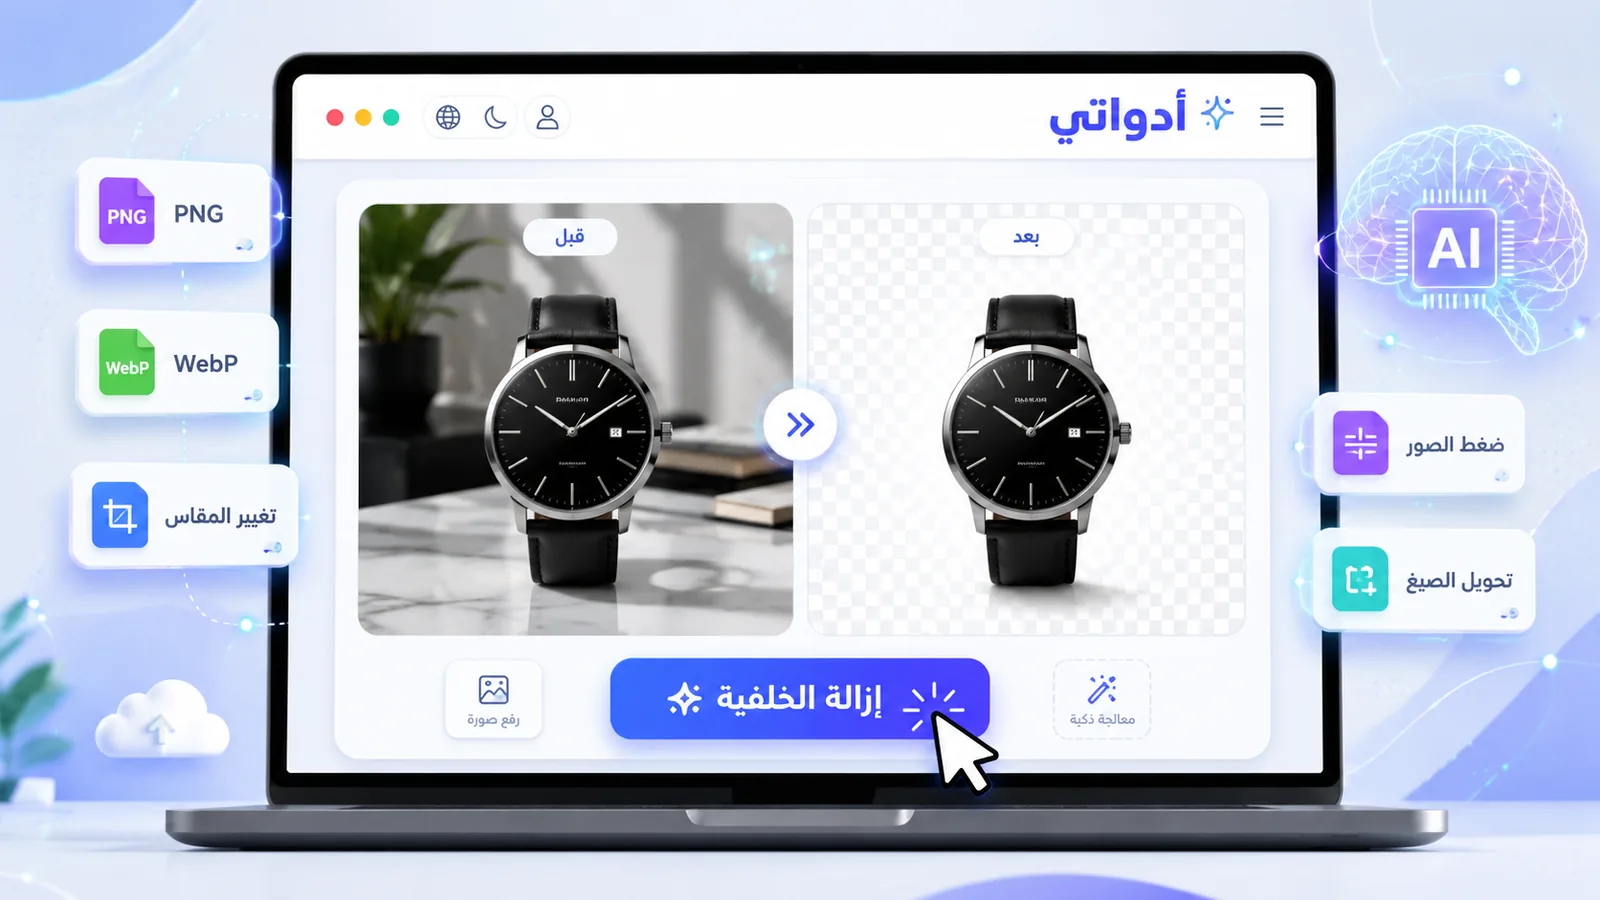
Images have become an essential part of online stores, advertisements, resumes, and social media posts. In many cases, the problem is not the image itself but the background, which distracts attention or prevents the subject from being reused in a new design. That is why so many people look for the free background remover —a straightforward tool that does not require experience with complex editing software.
Removing a background means separating the person, product, or main subject from the area around it and then saving the subject on a transparent background or placing it later on a white or colored background. This is useful for designers, store owners, content creators, students, and professionals because it makes an image reusable in different contexts without having to cut it out manually each time.
In this guide, you will learn the practical criteria for choosing a background-removal tool, how to use the Adawati Plus background remover, how to choose an image that produces a better result, the difference between online tools and traditional editing software, and what to review before downloading and publishing the final image.
Why has background removal become so useful?
A clean background helps the eye focus on the main subject. In an online store, a busy background can make a product less clear and make a group of product images look inconsistent. A cut-out product can be placed on a unified background, giving the store page a cleaner and more organized appearance.
The same benefit applies to portraits. You can remove distracting surroundings and place the person on a simple background that works better for a resume, professional profile, or ID-style card. Designers also benefit from transparent backgrounds when creating ads or social posts because the subject can be moved freely and placed over different colors and layouts.
Key practical benefits
- Prepare product images for online stores and digital catalogs.
- Improve portraits and professional-profile images.
- Isolate people and objects for use in advertisements.
- Create transparent-background images for designs and presentations.
- Give large sets of product images a more consistent look.
- Reduce visual distraction and emphasize the main subject.
How do you choose the best free background remover?
Not every tool produces the same result with every image. A clearly photographed product may be easy to isolate, while an image with loose hair, glass, soft shadows, or semi-transparent material may need additional review. It is better to evaluate a tool using practical criteria rather than relying only on its name or marketing claims.
Subject-detection accuracy
A good tool should distinguish the foreground subject from the background, especially when their colors are similar. Pay close attention to edges around hair, clothing, glass, and small product details because these are often the first places where cutout errors or lost detail appear.
Ease of use
The workflow should be clear: choose the image, start processing, preview the result, and download it. The fewer unnecessary steps there are, the easier the tool is for someone who wants to complete the task quickly from a phone or computer.
Final file quality
A transparent background requires a format that supports transparency, such as PNG. After downloading the result, review the dimensions, clarity, and edges at full size rather than relying only on a small preview. Some problems only become visible when the image is enlarged or placed over a different background color.
Browser and mobile compatibility
It is useful when a tool works directly in the browser without requiring a large application to be installed, especially when you are processing one image or working from a device that is not your usual computer. Upload, preview, and download controls should also be easy to use on a phone screen.
Why is Adawati Plus a practical option?
Adawati Plus provides a dedicated browser-based page for processing an image and removing its background. The interface focuses on the main task rather than placing the user inside long editing menus, making it suitable for anyone who wants a practical result through a clear workflow.
The tool also connects naturally with other image utilities. After isolating the subject, you can use the image compressor to reduce file size, the image resizer to set the required width and height, or the image converter to choose a format that fits the final use.
You can also review the online image tools guide to understand the difference between conversion, compression, resizing, and background removal before deciding which order makes the most sense for your image.
How to use the background remover
- Open the tool: Go to the background remover.
- Choose an image: Use a clear image and make sure the subject is fully visible.
- Start processing: Upload the image and use the control shown on the page to begin background removal.
- Review the edges: Zoom in and inspect hair, clothing, corners, and shadows.
- Download the result: Save the image in a suitable format, preferably PNG when transparency is required.
- Optimize the file: Compress or resize the image before uploading it to a store or website.
Ready to test the result on your own image? Upload a clear photo, then review the edges before downloading the final file.
How do you choose an image that gives a better result?
The quality of the original image directly affects the result. No tool can restore detail that was never captured or fully correct severe motion blur, so begin with the best version you have and keep the original file before making any edits.
Use a clear, high-resolution image
Choose a sharp image with enough detail around the subject. Very small images may produce rough edges when enlarged later, and a source image that has already been heavily compressed may contain artifacts around important boundaries.
Keep the full subject inside the frame
Avoid images that cut off an important part of the product or person. Background removal cannot reconstruct parts that are missing from the original file, so the subject should be fully framed according to what the final design needs.
Look for good contrast
Separation is easier when the subject color differs from the background. A white shirt against a white wall, for example, may require closer review because the subject boundary is less distinct.
Avoid heavy shadows and extremely busy backgrounds
Strong shadows or nearby objects can blend with the subject boundary. Choosing an image with a simpler background often produces a cleaner result and reduces the amount of manual correction needed afterward.
Common practical uses for background removal
Product images and online stores
A clean background helps standardize product images across a store. A product can be placed on a white background or a brand color, then the image resizer can be used to give all product images consistent dimensions before upload.
Portraits and resumes
A distracting background can be removed from a portrait and replaced with a calmer setting. Keep the result natural and avoid over-smoothing the edges, especially around hair and shoulders.
Advertisements and social media posts
A designer can isolate a product or person and place the subject inside a new advertising layout. The AI Design Studio can also help prepare a structured design prompt before creating an ad or defining its visual direction.
Presentations and documents
Transparent images are useful when adding logos, products, and people to slides because they do not introduce an unwanted rectangle or background around the subject and can be coordinated with the presentation colors.
Furniture, electronics, and packaging
Objects can be isolated from their surroundings and reused in catalogs, quotations, or store designs. Review reflections, shadows, and edges carefully before publishing.
Comparing background-removal methods
| Criterion | Online tool | Professional editor | Mobile app |
|---|---|---|---|
| Getting started | Works in the browser | Requires installation and setup | Requires app installation |
| Required experience | Suitable for everyday users | Requires learning manual editing tools | Usually easy, with more limited controls |
| Fine control | Fast processing with result review | Extensive manual edge control | Varies by application |
| Best suited for | Everyday tasks and quick results | Complex projects and precise editing | Quick processing from a phone |
| Cost | May be free within service limits | May require a purchase or subscription | May include subscriptions or ads |
An online tool is suitable when you want to remove a background quickly with only a few steps. Professional editing software remains useful for highly complex images or situations where you need to draw and refine edges manually.
Transparent background or white background?
A transparent background is useful when you want to reuse the subject in multiple designs or place it over different colors. PNG is a common choice because it supports transparency and preserves the area around the subject without filling it with a fixed color.
A white background is often suitable for product images, online stores, and some official use cases. You can first download the image with a transparent background, then place it over white or another color in an image editor according to the platform requirements.
JPG does not normally preserve transparency, so you can read the JPG to PNG guide to understand the difference between the formats and when to choose each one.
Common mistakes that affect the result
- Using a low-resolution or blurry image.
- Using an image where the subject and background colors are too similar.
- Cropping out part of the subject before upload.
- Having too many overlapping objects around the product or person.
- Downloading the result without reviewing fine edges.
- Saving the result in a format that does not support transparency.
- Uploading a very large file when the final use is small.
- Processing a sensitive image without reviewing the privacy policy.
If the result is not ideal, try a clearer source image or one with a simpler background. Fine-detail cases such as loose hair, glass, and semi-transparent materials may still need limited manual adjustment after processing.
What should you do after removing the background?
Do not upload the result directly to a website or store before reviewing its dimensions and file size. The image may be much larger than the area where it will appear, increasing loading time without creating a visible benefit for the user.
- Use the image resizer to set appropriate dimensions.
- Use the image compressor to reduce file size.
- Use the image converter when you need another format.
- Review the guide to converting images to WebP for images used on webpages.
- See the online image tools guide to choose the right processing order.
Privacy when using image-processing tools
Handle personal images, documents, and files containing sensitive information with care. Avoid uploading identity documents, financial information, or private records to any online service unless it is necessary and you understand how the file will be processed.
Review the Privacy Policyand always keep a copy of the original image on your device. If the image contains information that does not need to be visible, use a dedicated copy for processing rather than the original file.
Start removing image backgrounds
Finding the free background remover begins with identifying what you actually need: a product image on white, a portrait with a transparent background, or a subject that will be reused in an advertisement. Choose a clear image, process it, and then review the edges, size, and format before approving the result.
Adawati Plus provides a direct browser-based workflow for background removal along with compression, resizing, and conversion tools. Start by removing the background, then optimize the image for the place where you plan to use it.
Turn your image into a subject that is ready for a design or online store.
Related guides and links
Frequently Asked Questions About Background Removal
Is the background remover free?
You can open the Adawati Plus tool and use it in your browser according to the limits and instructions shown on the tool page.
Can I remove image backgrounds on a phone?
Yes. Open the tool in your mobile browser, upload the image, review the result, and download it.
What is the best format for a transparent-background image?
PNG is a common choice because it supports transparency and can preserve the area around the subject without filling it with a background color.
Can I remove the background from product photos?
Yes. Results are usually better when the product is clear and there is good contrast between it and the background.
Can I use the tool for portraits?
Yes. It can isolate a person from the background, but you should review hair, clothing, and fine edges carefully before using the image.
Can I add a white background after removing the original one?
Yes. Download the image with transparency, then place it over a white background in a design tool or image editor.
Does background removal reduce image quality?
Quality depends on the resolution of the source image, the processing method, and the final format. Start with a clear image and review the result at full size.
Do I need to install software?
No separate application is required when you use the browser-based tool.
Why do some edges look rough?
This can happen because of low resolution, similar subject and background colors, hair, shadows, or other fine details.
Can I remove the background from an image with several people?
You can try, but the result depends on how clearly the people are separated from the background and from surrounding objects.
Does JPG support transparent backgrounds?
JPG does not support transparency in the same way PNG does, so use PNG when you need a transparent background.
Should I compress an image before or after removing the background?
Use a clear version while removing the background, then compress the result after you have reviewed the edges and image quality.
Can I resize an image after background removal?
Yes. Use the image resizer to set the width and height required by your store, advertisement, or platform.
Can I convert the result to WebP?
Yes, but check how transparency is handled by the resulting file and by the platform where you plan to use it.
What dimensions should a product image use?
That depends on the store and display area. Use enough pixels to keep the product clear without uploading an image that is far larger than its actual display size.
Can the resulting image be used in an advertisement?
Yes, after confirming that you have the necessary rights to use the source image and checking the edges, resolution, and dimensions required for the ad.
How can I protect the privacy of my images?
Avoid uploading highly sensitive images, read the privacy policy, and use a dedicated processing copy instead of the original file when appropriate.
What should I do if the result is not perfect?
Try a clearer image or a simpler background and review the edges again. Complex images may still need limited manual correction after processing.