
compress images online · 8 min read
Compress Images Online Without Losing Quality
Learn how image compression works, what affects visual quality, and how to reduce file size for websites, sharing, and uploads without unnecessary degradation.
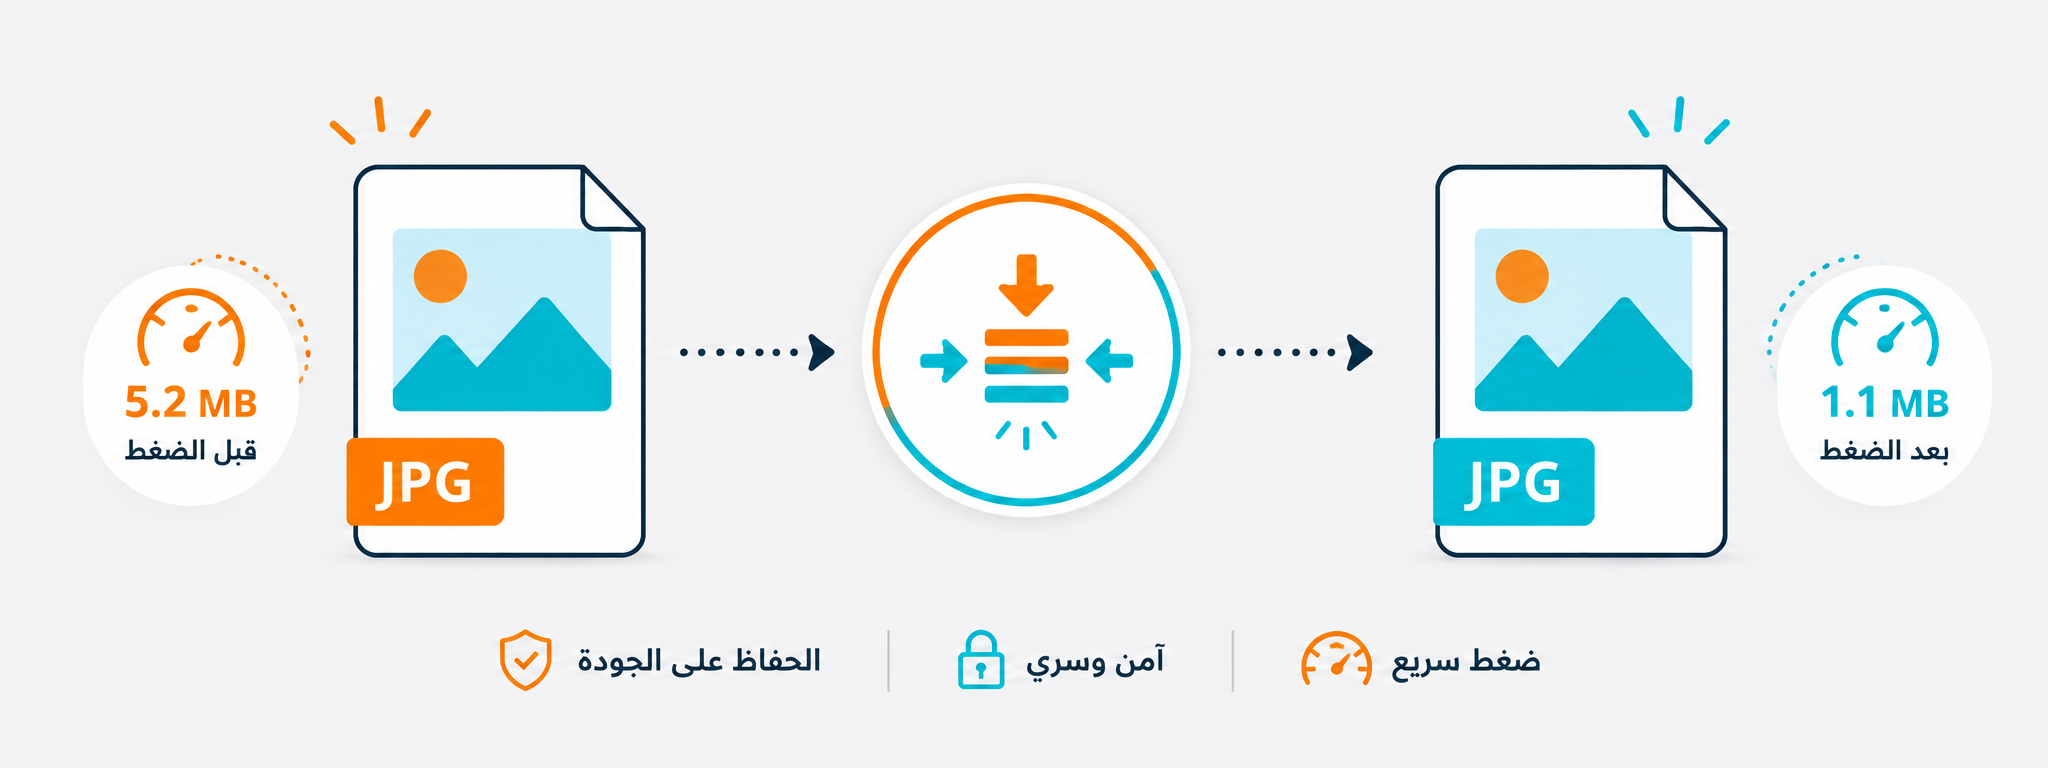
When an image file is too large, the problem can appear in several ways: slow uploads, pages that take longer to open, or files that cannot be sent because they exceed size limits. That is why many people look for online image compression—not only to reduce the number of kilobytes, but to create a lighter image without making it blurry or washed out.
Good image compression is not just about pressing one button. Sometimes a small reduction in quality is enough, sometimes the better solution is to resize the image, and sometimes the file format itself is the problem. Understanding what makes an image large in the first place helps you choose the right approach.
In this guide, we will explain when to compress images, when resizing is the better first step, and how to use the Adawati Plus image tools in a practical workflow before uploading images to a website or sharing them.
Why do you need image compression?
A large image may look excellent on your device, but that does not mean it is suitable for the web or for sharing. If you upload it to a webpage without optimization, it can increase loading time, especially on mobile devices or slower connections.
Compression reduces file size, which can make pages lighter, improve the visitor experience, and make images easier to send. But excessive compression can reduce visual quality, so the goal is to find a sensible balance.
Do not always chase the smallest possible file. Aim for a file size that is appropriate while preserving the image quality needed for its intended use.
When is resizing better than compression?
If the image dimensions are extremely large—for example, several thousand pixels wide—compression alone may not be enough. In that situation, it is usually better to reduce the dimensions first and then compress the resized image.
Consider a simple example: an image that will appear inside a small website card does not need to be thousands of pixels wide. Resizing it can reduce the file significantly and often produces a cleaner result than aggressively compressing an oversized image.
Before compressing, ask where the image will be used. Will it appear in a large banner, a product card, or a thumbnail? The answer determines whether you need compression only or resizing as well.
How do you preserve image quality after compression?
The best approach is to avoid compressing too aggressively. Start with a moderate compression level and compare the result with the original. If you cannot see a meaningful difference, the new file size is probably a good fit.
Pay special attention to images that contain small text or fine details because they can deteriorate quickly under heavy compression. General photographs and backgrounds may tolerate stronger compression without showing obvious damage.
Always keep an original copy before compression, especially for product photography, advertising assets, or important designs.
- Start with moderate compression instead of pushing it too far on the first attempt.
- Review the compressed image on both mobile and desktop.
- Do not overwrite the only original copy you have.
- Use appropriate dimensions before relying on heavy compression.
Does the image format affect file size?
Yes. The image format has a significant effect on file size. JPG is often suitable for photographs, PNG is useful for transparency and graphics, and WebP can be an excellent option for web use when it fits your project.
If an image remains large after compression, converting it to a more suitable format may help. But do not convert formats at random. Choose the format based on the type of image and where it will be used.
A practical workflow before uploading an image to a website
Start by deciding where the image will appear. Then resize it if the dimensions are larger than necessary. Next, use image compression to reduce the file size. Finally, open the result and make sure it still looks clear.
These simple steps prevent you from uploading unnecessarily heavy images and help keep your website faster and more comfortable to browse.
When is compression alone not enough?
Sometimes you compress an image more than once and the file still remains large. In that case, the problem may not be compression alone; it may be the dimensions or the chosen format. An image that is far wider than needed can remain heavy even after a small reduction in quality.
If the image is intended for a website, do not start with compression automatically. Check its dimensions first and decide whether it should be resized. Use compression as the final optimization step. This often produces a better result than repeatedly compressing a huge image.
Also pay attention to images that contain text or logos. Heavy compression can make letters and edges look soft. In those cases, use lighter compression or test another format if it is appropriate.
Conclusion
Online image compression is an important optimization step, but it works best after you choose the right format and dimensions. Do not compress an image simply to reduce the file-size number. Check the visual quality, test the image in the page where it will appear, and keep an original copy when needed. That way, you get a lighter image without sacrificing its appearance.